So you’ve identified the supplier you want to work with for your next product—what now? Do you simply begin the manufacturing process? The answer is no. A part of the sourcing process that’s often neglected is sampling. We can’t emphasize enough the importance of proper packaging sampling as it’s the foundation that will ensure accuracy and precision in the final product.
Table of Contents
ToggleWhat is packaging sampling?
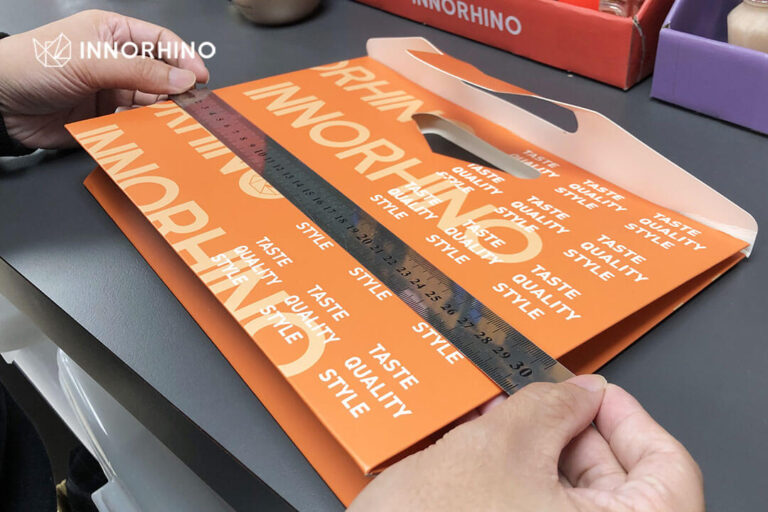
Imagine that you just signed off a packaging design and it’s now headed to production. Excitedly, you anticipate the 10,000 units of packaging coming to life, only to realize at the last moment that your product doesn’t fit. That’s terrible!
However, this scenario can be prevented by going through sampling, a process where you provide your supplier with your product and receive a packaging sample for checking. Many clients choose to skip this step because they want to save money on shipping. Yet, why not think of it as buying insurance before committing to producing thousands of packaging? Yes, it’s an additional cost, but it’ll save you from all sorts of logistical fiascos down the road.
Now, you may be wondering, What should I do in the sampling stage? Worry not—we’ve got you covered. In this blog, we’ll go over the steps you should take during the sampling process.
Step 1: Provide your supplier actual products for packaging sampling

It’s extremely crucial that you ship a sample of your product to the supplier. This will allow them to get the most accurate measurement of the product. With a sample product at hand, your supplier can analyze the attributes—weight, dimension, etc.—of the product and thus create a well-designed packaging that’s accurate in terms of size.
Clients who only provide the dimensions of their product without a physical sample are at greater risk of the final packaging not fitting the product. That’s why it’s important to send in a sample!
Step 2: Export your design file in CMYK color mode
Did you know that in the design process there are two color modes? RGB and CMYK. You probably have heard of them but knowing the difference between the two can help optimize your design. Here’s a quick overview of these color modes and how they’re used:
RGB (Red, Blue Green)
— for screen 🖥
This color mode is used in digital designs that are meant for the screen, like graphics for display on TVs, phones, tablets, etc. That means, if a design project is for something along the lines of web design, social media, and online branding, then RGB is the color mode you should set the design file to.
CMYK (Cyan, Magenta, Yellow, Key/Black)
— for print 📄
When it comes to printed assets, like posters, pamphlets, or—in our case—packaging, CMYK is the color mode you should use. Why? If your packaging is designed digitally in RGB color mode, when it is printed and produced the colors wouldn’t be optimized. Additionally, there will be a discrepancy between the design file and the final, printed packaging.
The key takeaway
- It’s in your best interest to not skip sampling. Skipping it is risky.
- When you go through the process, keep in mind to provide an actual sample of your product.
- Always design in CMYK color mode for anything printed.
- It may take more than one round of packaging sampling to finalize the design for mass production. Therefore, don’t be alarmed if the first round of samples isn’t a perfect fit for your product.
At INNORHINO, we specialize in custom packaging projects that can meet your design needs. We’re always excited to collaborate with designers like you to create memorable and on-brand packaging. So what are you waiting for? Shoot us an email today!
This article is written by: Leonni Antono – BBP
Image source: INNORHINO, Unsplash, Pexels
Check our Youtube channel for more packaging ideas, inspirations, and insights! ![]()


